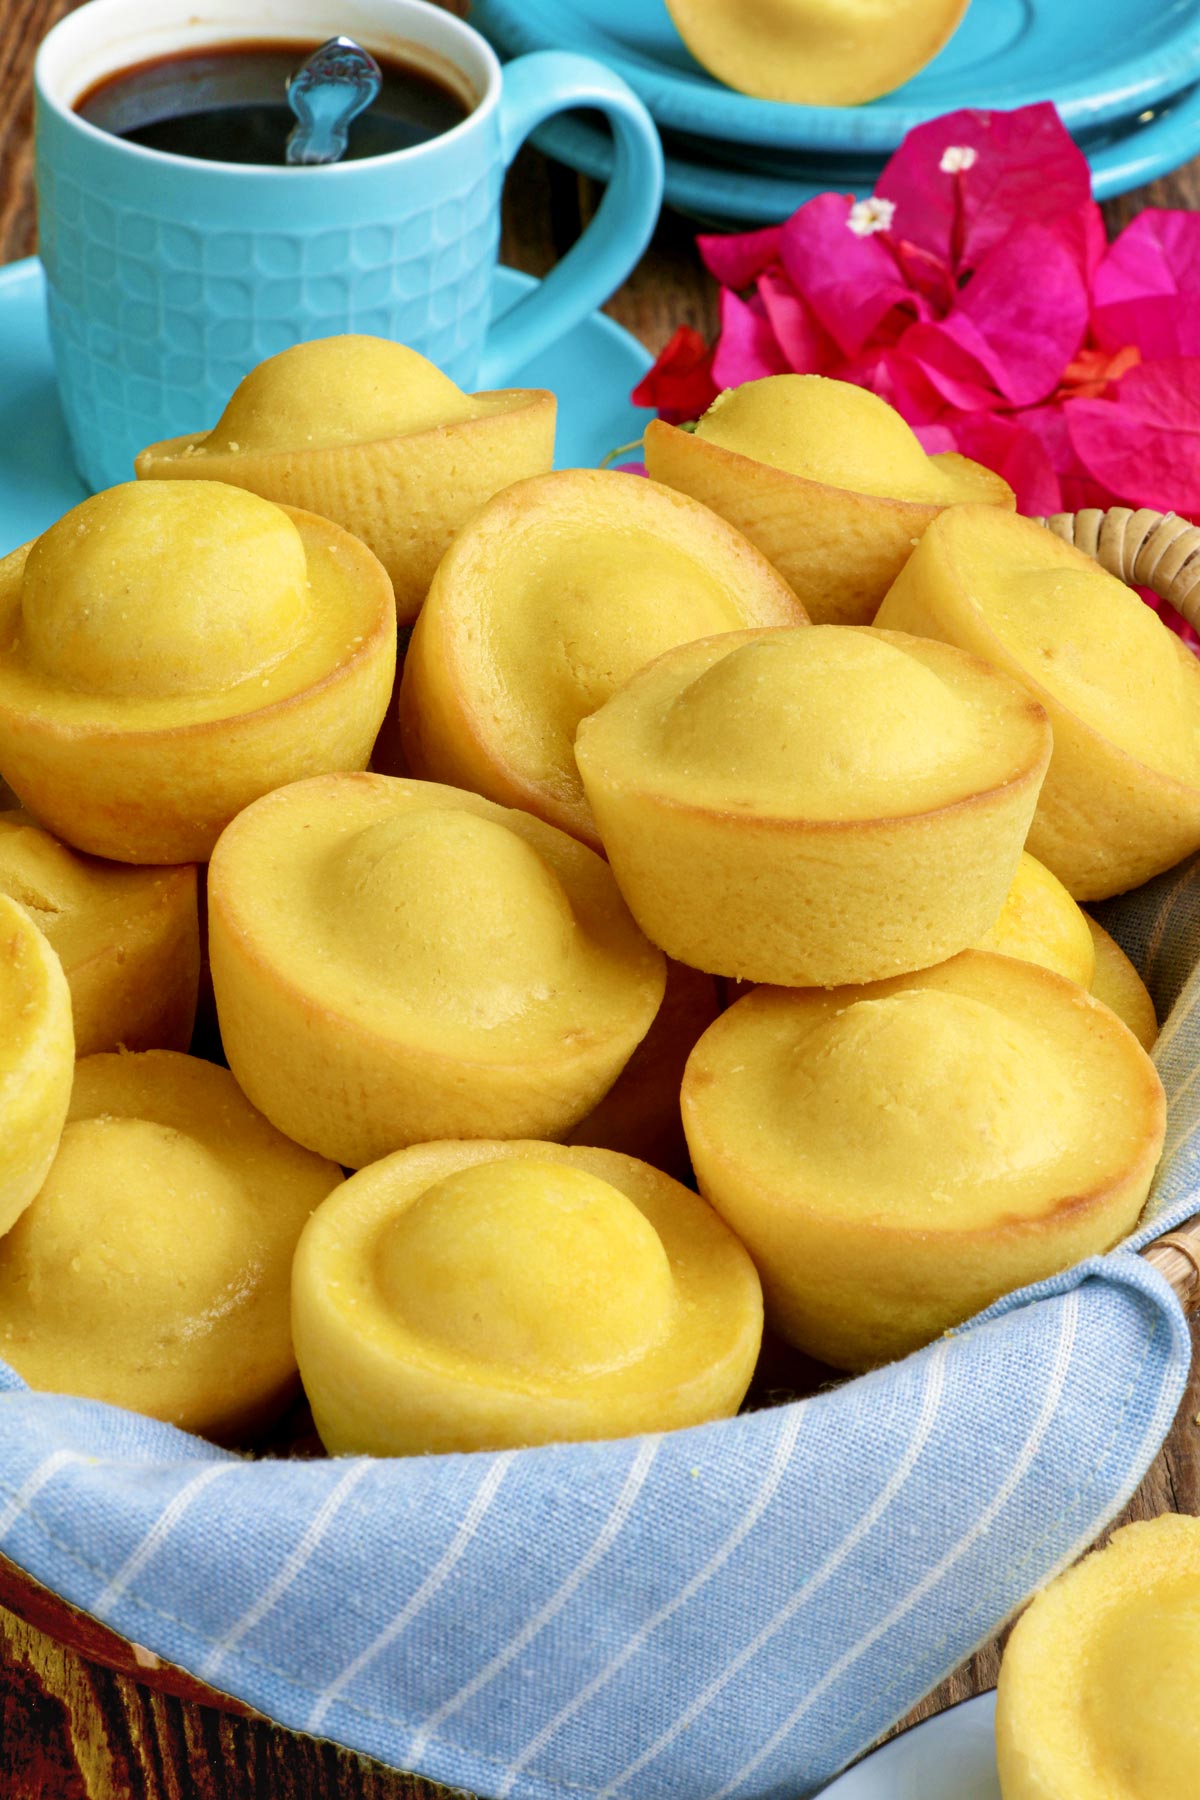
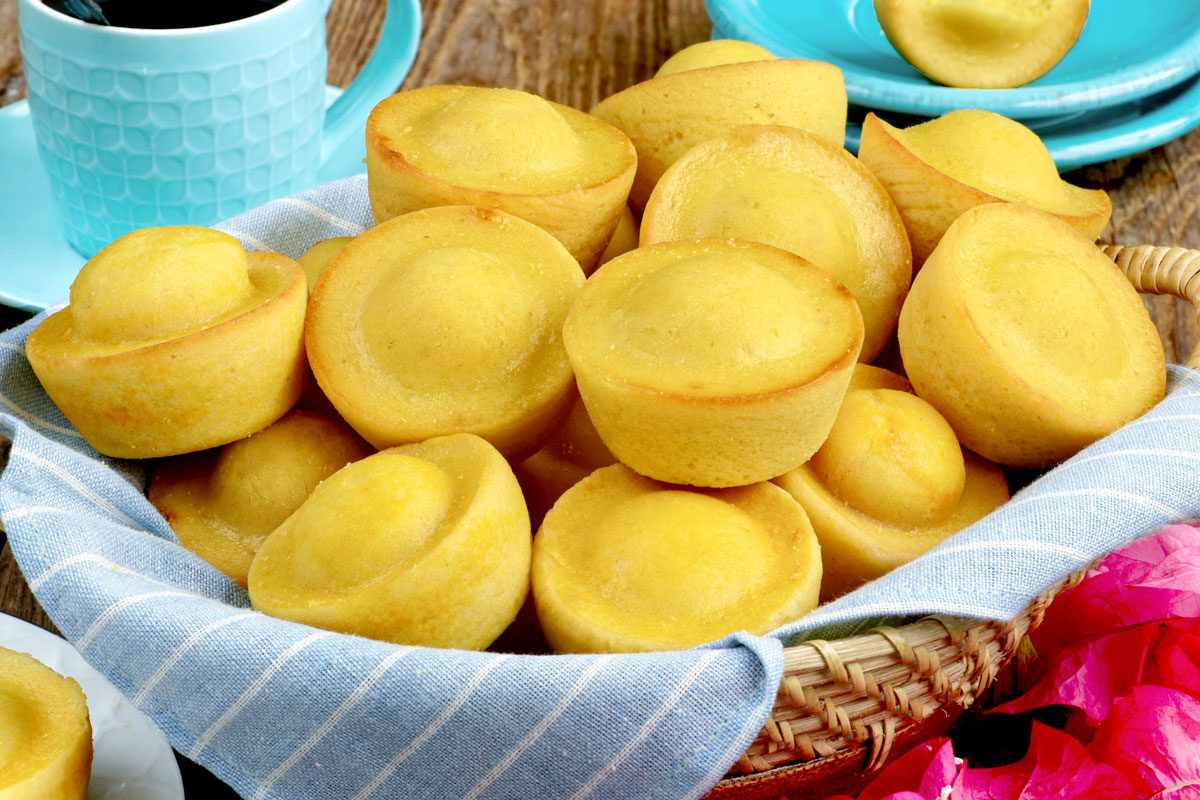
Try this Kababayan Bread with its distinctive shape, appealing color, delicious sweet flavor, and moist texture. Enjoy this popular Filipino muffin as a breakfast or afternoon treat with a hot cup of tea or coffee.
I love all kinds of bakery bread! For those of you who have followed my recipes before, you know that I am always on the lookout to recreate the bakery treats I grew up with. I know I can always buy them, but nothing compares to freshly baked bread! And I know this for sure because I grew up next door to a local bakery that sells delicious Pandesal,Egg Pie, Pan de Coco, Monay, and Star Bread. And I am so happy to finally be able to make better-than-bakery Kababayan bread on my own this time.
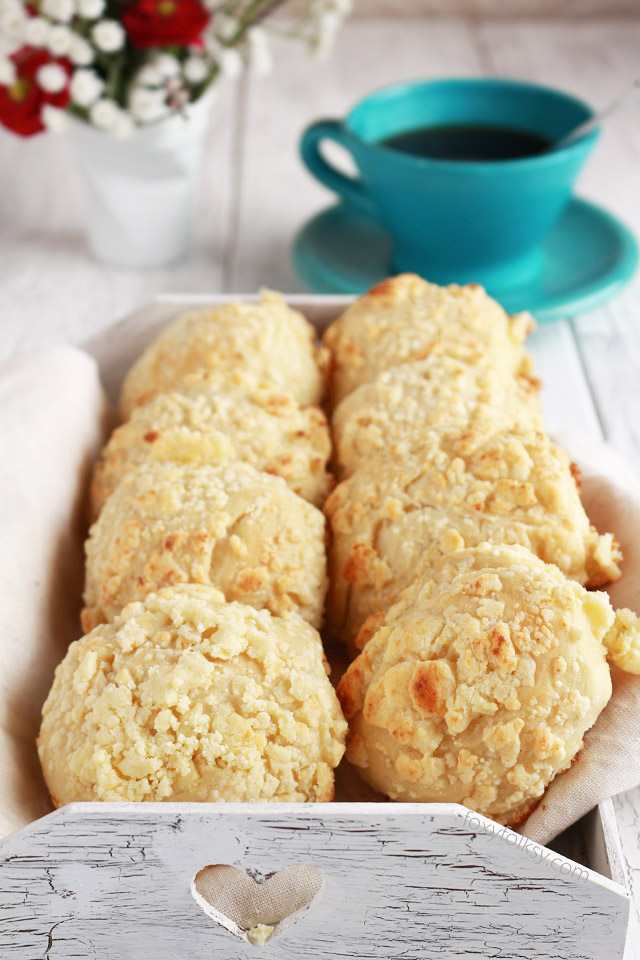
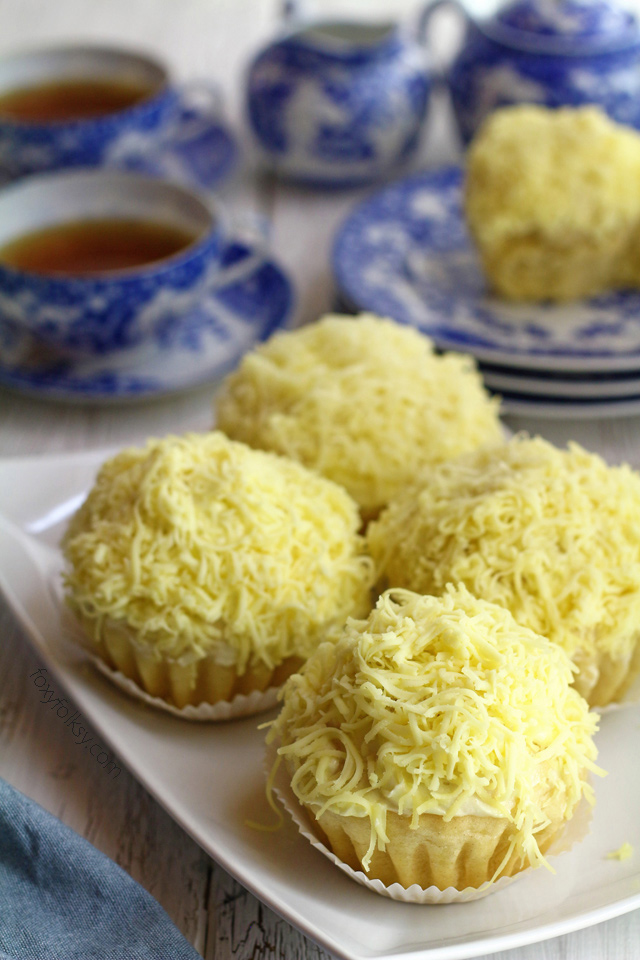
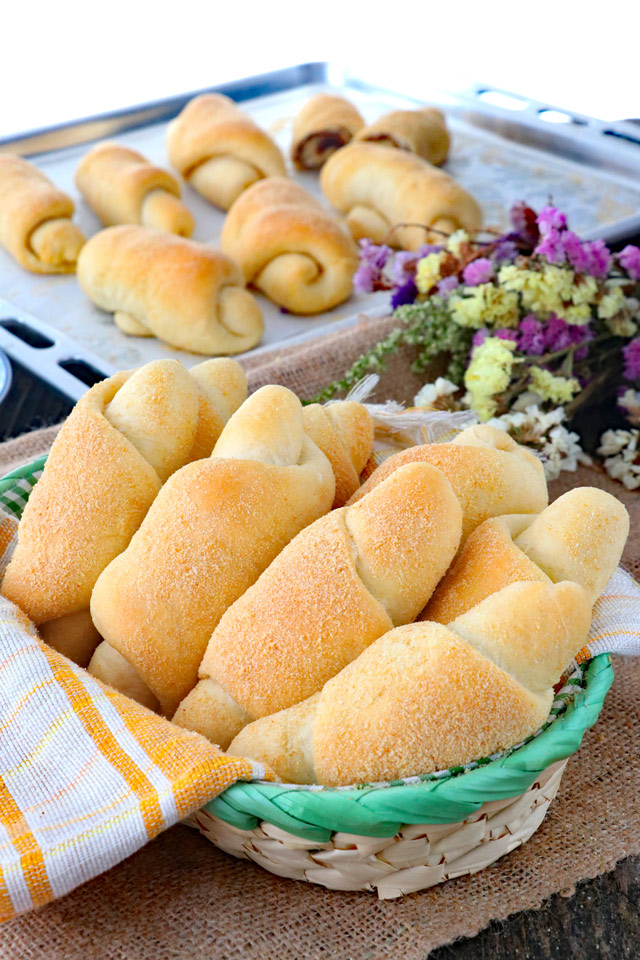
More Filipino Bread Recipes
What is it?
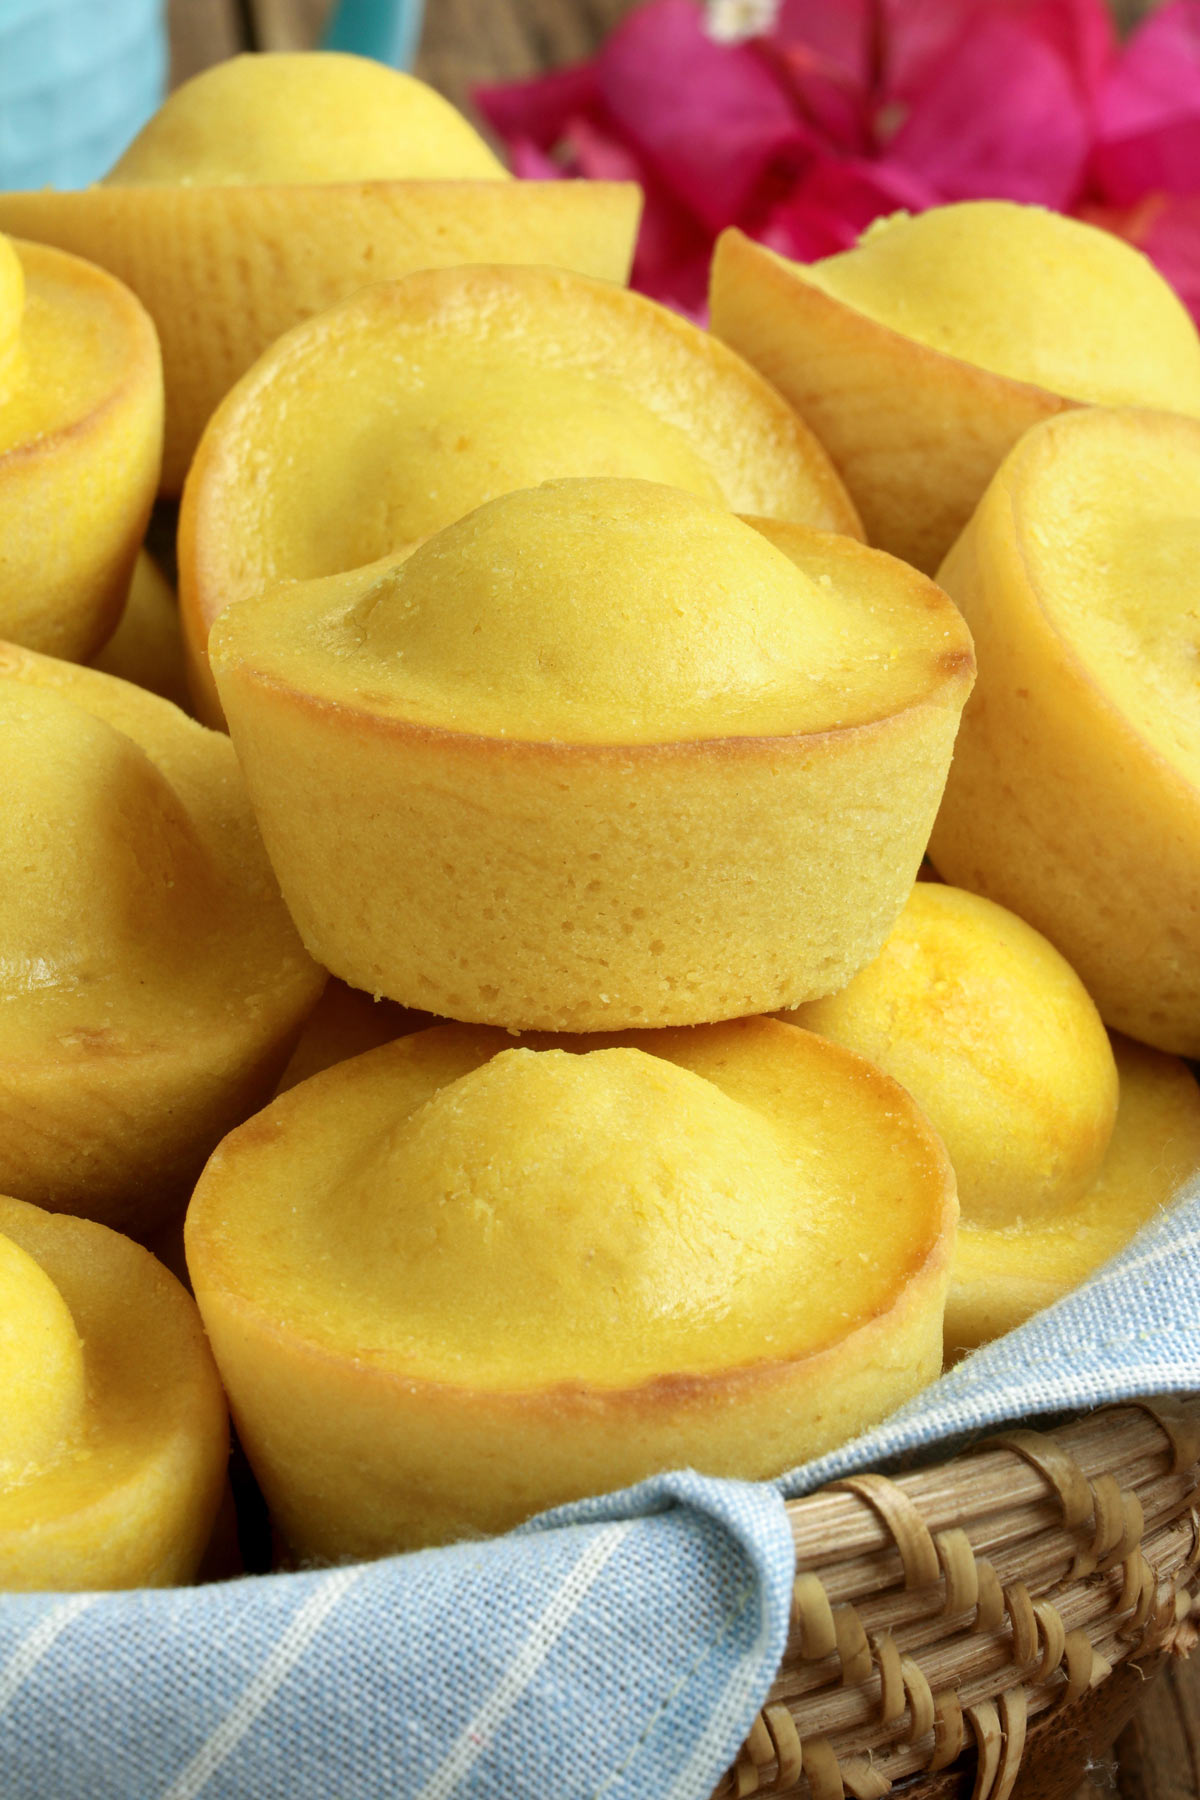
Kababayan is a local Filipino muffin. It is a soft, sweet, and moist. What sets it apart is its interesting salakot shape. A salakot is a traditional cone/dome-shaped light headgear worn by locals to protect themselves from the sun and rain.
Kababayan is a Tagalog word that means "fellow countrymen," the name and shape make it a truly Filipino dish! I have always wondered how bakers make these hat-like bread, and it is surprisingly easier than I thought! This recipe will show you the proper technique to achieve a perfectly domed, delicious Kababayan at home!
How to Make Perfectly Shaped Kababayan Bread
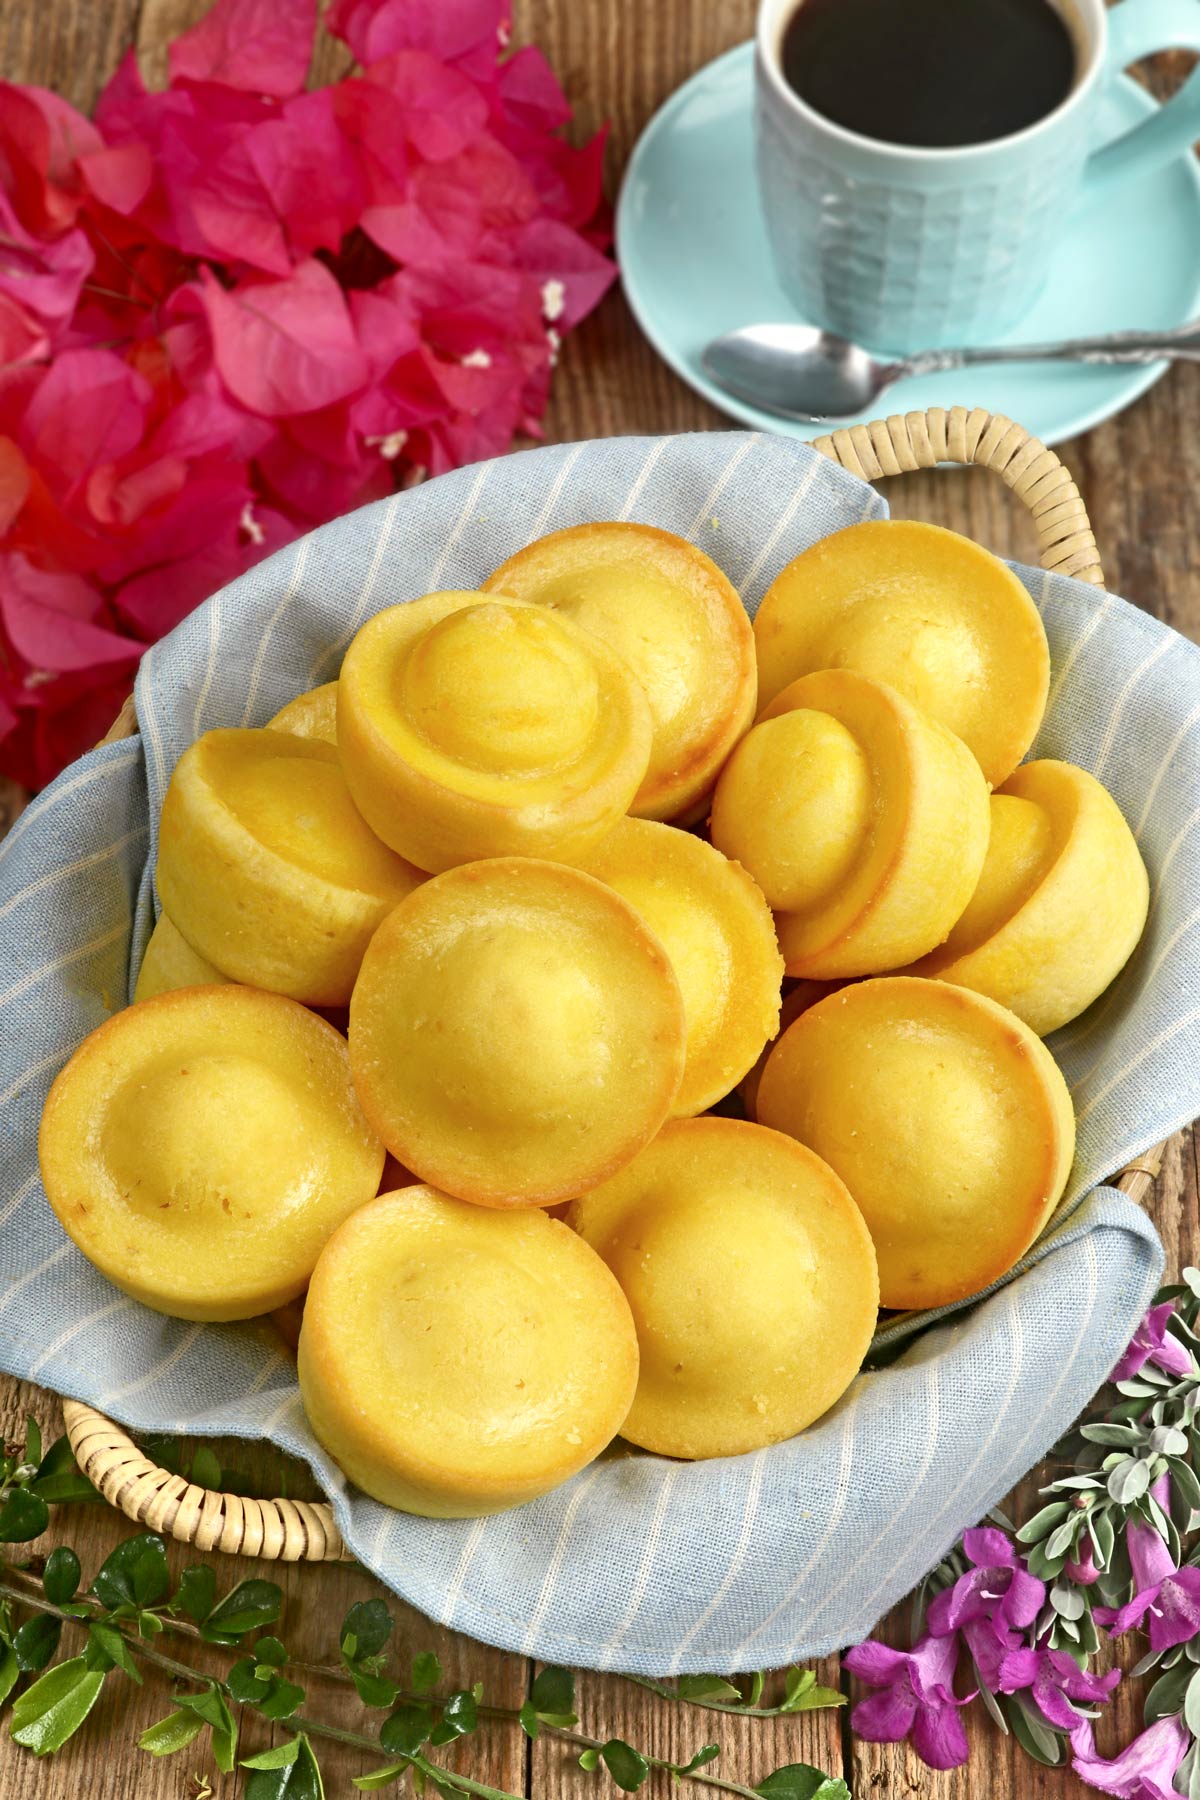
Two things are essential to achieve the perfect salakot shape of this bread. First is the mixture used in greasing the muffin pans, followed by a simple but specific baking method.
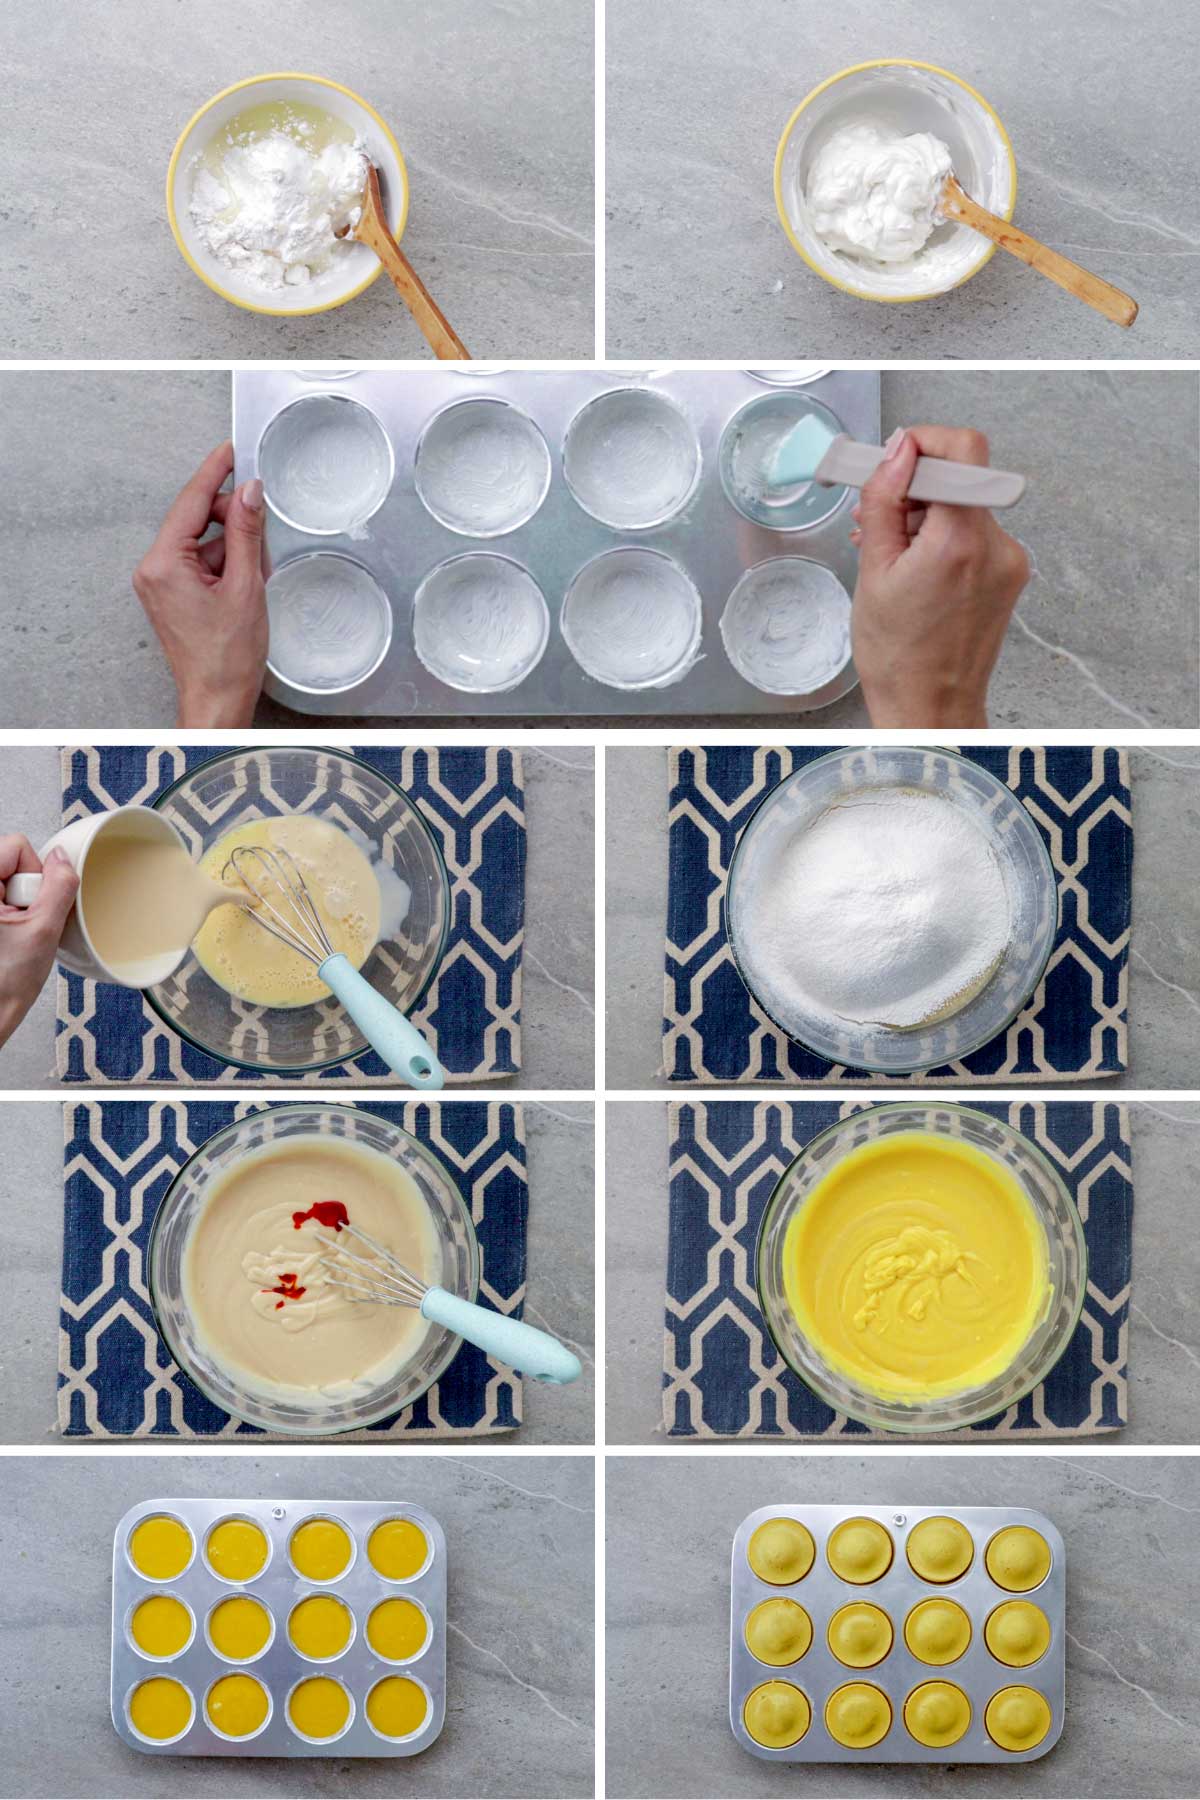
Generously coat the muffin pans with a thick mixture of flour, oil, and lard or shortening. Try not to skimp on this! This is the key to the muffins' sloped corners!
Next is the baking technique. Once the batter is placed on the greased muffin pan, bake it in a preheated oven at 200°C/400°F until the edges rise and a crater is formed in the middle. Then, you lower the heat to 160°C /320°F and continue baking for another 15 minutes until you see the center rise and the bread is fully baked.
The initial hot temperature with hasten the baking of the rim of the muffins while the middle is still remain unbaked. As the rim sets and stays on the same height, lowering the temperature later on will then give the center time to rise slowly and higher than the rim.
Ingredients
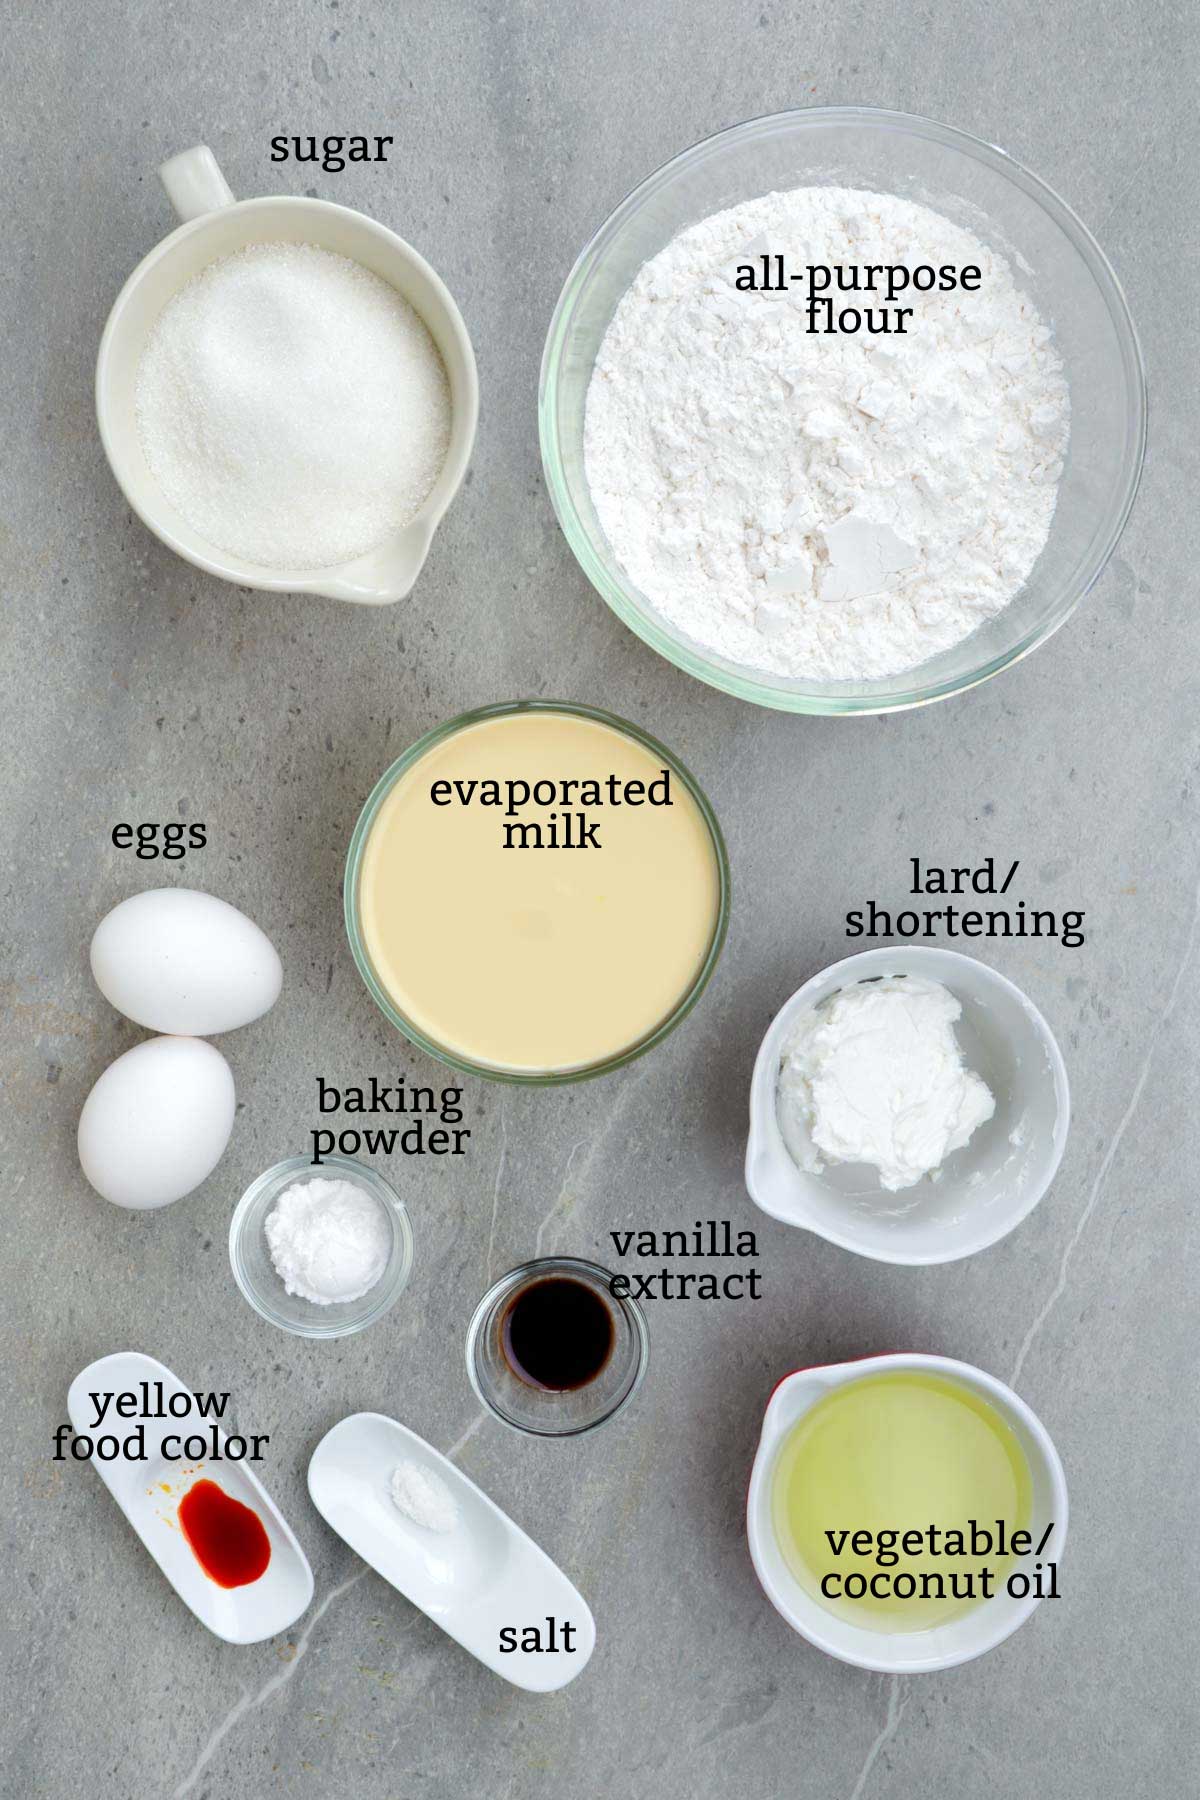
For greasing the muffin pans:
- Lard or shortening- is best but butter or margarine will also work
- Oil – any type of vegetable oil will do.
- Flour- I used all-purpose for this recipe.
Combining these three ingredients makes the best "grease" for pans or molds when baking cakes or muffins. They are much easier to remove and does not leave marks on the baked goods.
For the batter:
- All-purpose flour- makes the perfect texture, crumbs are not too fine and the muffin, not too dense.
- Eggs- help give the muffins a nice structure and height and make them softer.
- Evaporated milk- is used instead of regular milk for a richer taste.
- Sugar - I used granulated white sugar. Brown sugar may also be used but it could affect the color.
- Salt - to balance the sweetness.
- Vegetable oil- Makes the muffin moist for days! You can also use coconut oil as an alternative.
- Vanilla- is optional but will give the muffins a nice flavor.
- Baking powder- is used as the leavening agent for this recipe.
- Egg Yellow food color- is optional but it gives it the signature bright yellow hue. I used liquid food color.
Cooking Tips
- Always use room temperature ingredients to easily mix the batter without overdoing it.
- The batter should not be too thick. The key is to have a smooth batter that makes continuous ribbons from the whisk when you lift it. If yours becomes too thick, add water until you have the right consistency.
- For a mess-free transfer of the batter, place the batter in a piping bag and pipe the batter into the muffin pan. You may also use an ice cream scoop for evenly sized Kababayan.
- You can insert a toothpick in the center to check if the muffins are done baking. You can take the muffins out of the oven if the toothpick comes out clean.
- Let the muffins rest in the pan for a few minutes before dislodging them. This will give them enough time to firm up.
- Using dark-colored pans or molds will give you a darker-colored bottom crust as they absorb heat. Lighter baking pans reflect the heat, so they do not burn as fast and will result in more even-colored baked goods.
Recipe Video
Storing Kababayan Bread
Keep the Kababayan bread in an airtight jar or container in a cool, dry place; it will last for up to 3 days at room temperature.
You can also make these yummy Filipino muffins ahead of time and keep them in the fridge for up to a week.
You can reheat the Kababayan bread in the oven or microwave until warmed through.
Printable Recipe
Kababayan Bread Recipe
Ingredients
For greasing the pan
- ½ cup lard or shortening
- 2 tablespoons oil
- 3 tablespoons flour
For making the batter
- 2 large eggs
- 1 can evaporated milk 370ml
- ¼ teaspoon salt
- 1 ¼ cups sugar
- ⅔ cup vegetable oil or coconut oil
- 1 teaspoon vanilla
- 3 cups all-purpose flour
- 3 teaspoons baking powder
- Yellow food color
Instructions
- ½ cup lard, 2 tablespoons oil, 3 tablespoons flourIn a small bowl, combine lard/shortening, oil, and flour. Mix well until fully blended.
- Use the above mixture to generously grease 2 12-cup muffin pans. Set aside. The cups should be thickly coated as this helps form a unique shape (like a salakot) aside from the baking method later on.
- Preheat the oven to 200°C/180°C for fan /400°F.
- 2 large eggs, 1 can evaporated milk, ¼ teaspoon salt, 1 ¼ cups sugarIn a large bowl, add the eggs and beat. Then add the milk, salt, and sugar. Mix until the sugar is dissolved.
- ⅔ cup vegetable oil, 1 teaspoon vanillaAdd oil and vanilla. Mix until well incorporated.
- 3 cups all-purpose flour, 3 teaspoons baking powderSift in the flour and baking powder. Mix well using a whisk or an electric mixer. The batter should not be too thick, you want a batter that is smooth and makes continuous ribbons when from the whisk or spatula when lifted. If too thick, add some water.
- Yellow food colorAdd some drops (about ¼ teaspoon) of yellow food color and mix again just until well incorporated.
- Pour the batter over your prepared pan, about ¾ full.
- Bake in the preheated oven at 200°C for about 3-5 minutes or until the edges rise up, creating a crater in the middle. Then turn the heat down to 160°C and bake for another 10 minutes fully baked, do the toothpick test. You’ll notice that the middle part will rise after some minutes and create a dome, forming the salakot.
- Remove the muffin pans from the oven. Let cool down a bit in the pan until cool enough to handle.
- Transfer to a serving tray.








Jackie Legaspi Golez says
easy to follow and I started reading some of her recipes. thank you
Bebs says
Glad you like it, Jackie. Hope you like our other reipes too!