Learn how to make perfect hard-boiled eggs all the time with these step by step guide plus additional tips on how to have hard boiled eggs that peel easily.
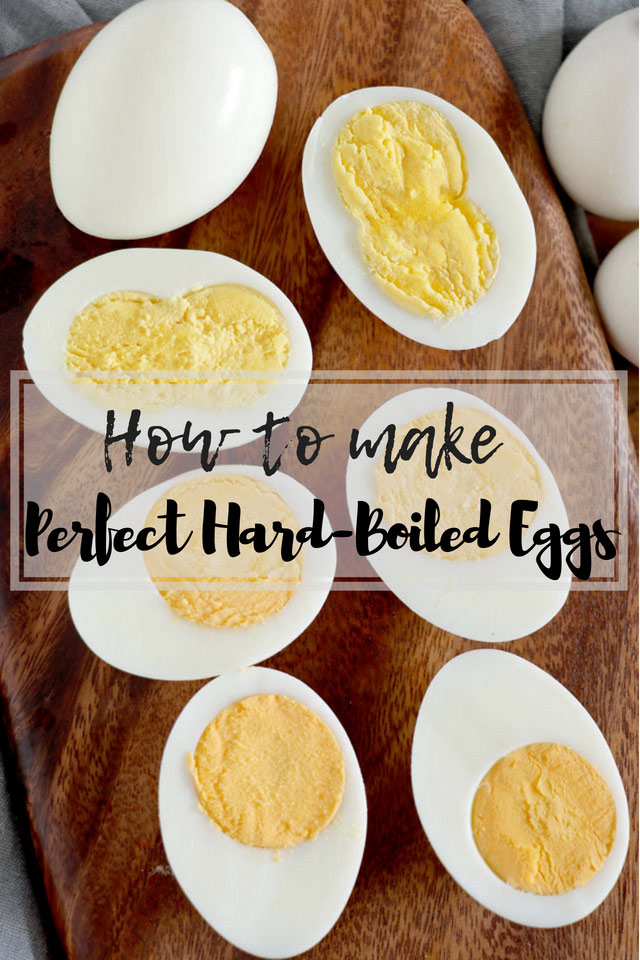
How difficult could it be to make hard-boiled eggs, right? Well, it turns out that there is more to it than, well, just boiling eggs in water.
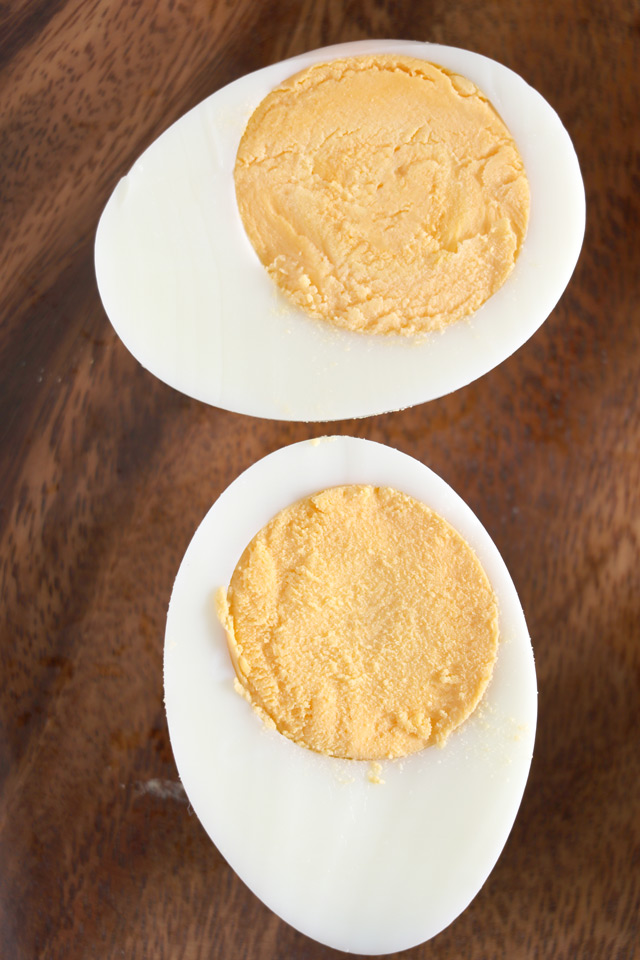
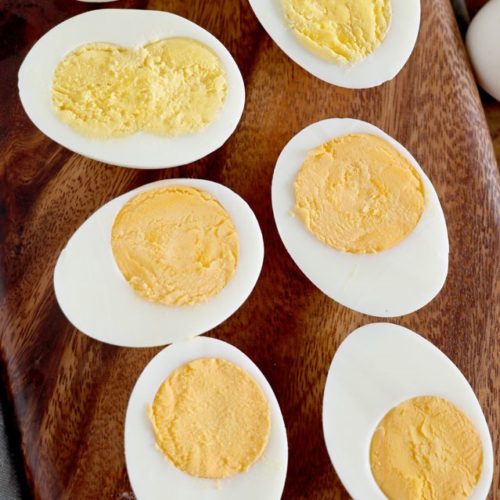
For those who do not know any better, the grayish-green ring that may appear around the egg yolk of a hard boil egg means they are overcooked.
This discoloration occurs when the sulfur present in the egg whites reacts to the iron in the yolks when cooked for a long time over high heat.
And yes, it is still fine to eat them. So if you do not mind having the green-grey thing around the yolks, then go ahead and no need to bother reading this post.
However, if you want to know how to make perfect hard-boiled eggs all the time, then read on.
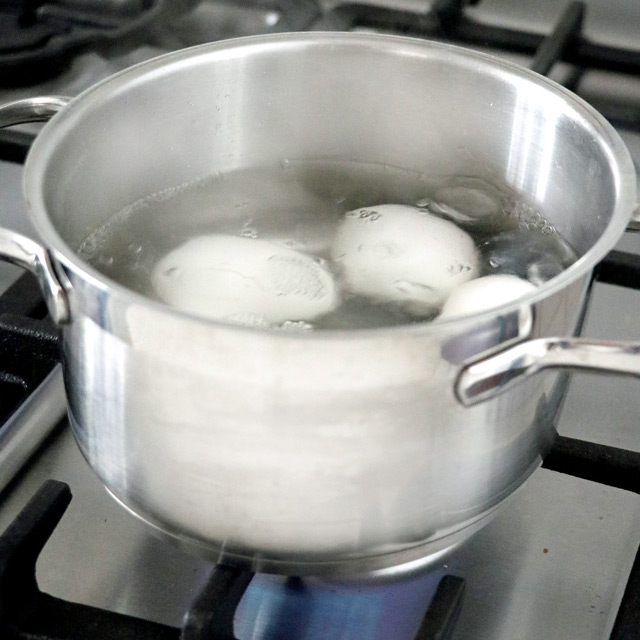
- Place eggs in a pot and fill the pot with tap water covering the eggs by an inch or two.
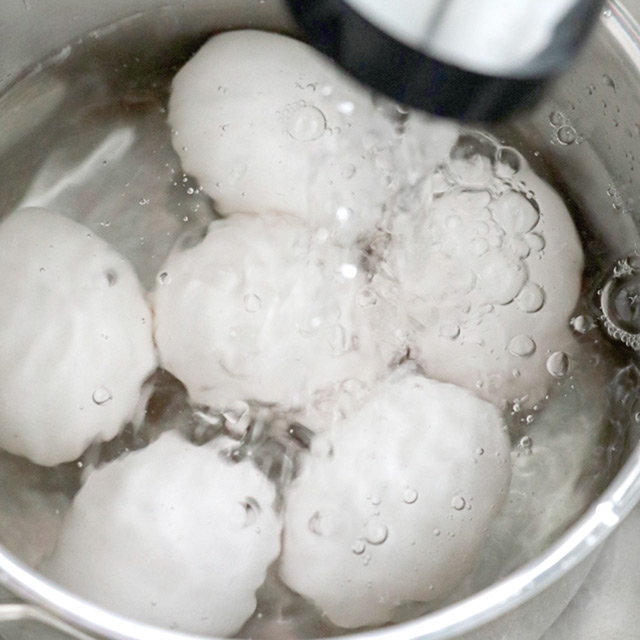
- Bring the water into a rolling boil, uncovered.
- Turn off the heat and cover pan. Set timer to 15 minutes.
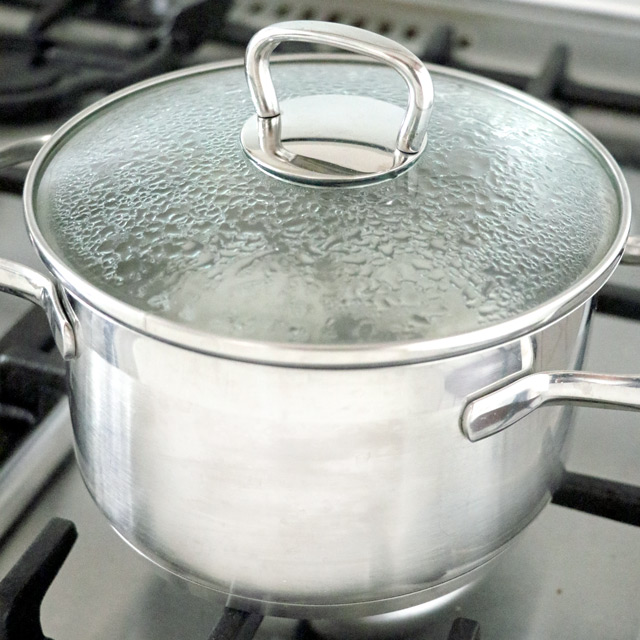
- A few minutes before the timer goes off, prepare the ice bath. Simply add ice into a bowl of water. Once the 15 minutes is over, transfer the eggs to the ice bath and let them sit for at least 2 minutes.
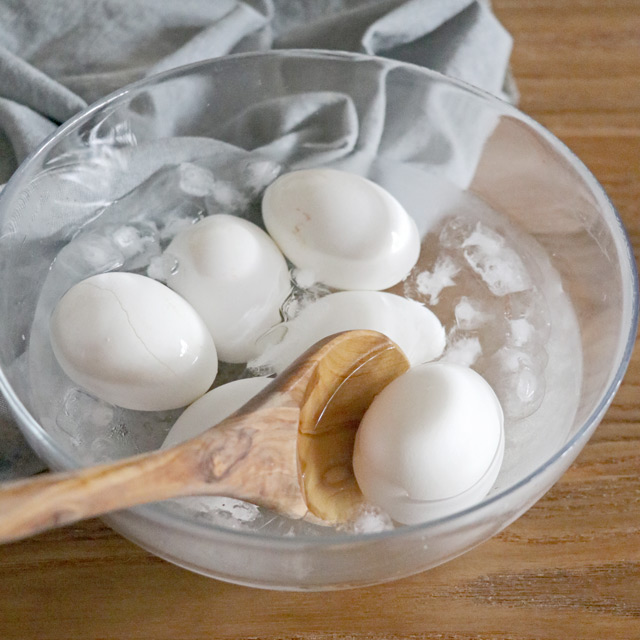
That's it, you can now peel them off the shells and enjoy your perfect hard-boiled eggs.
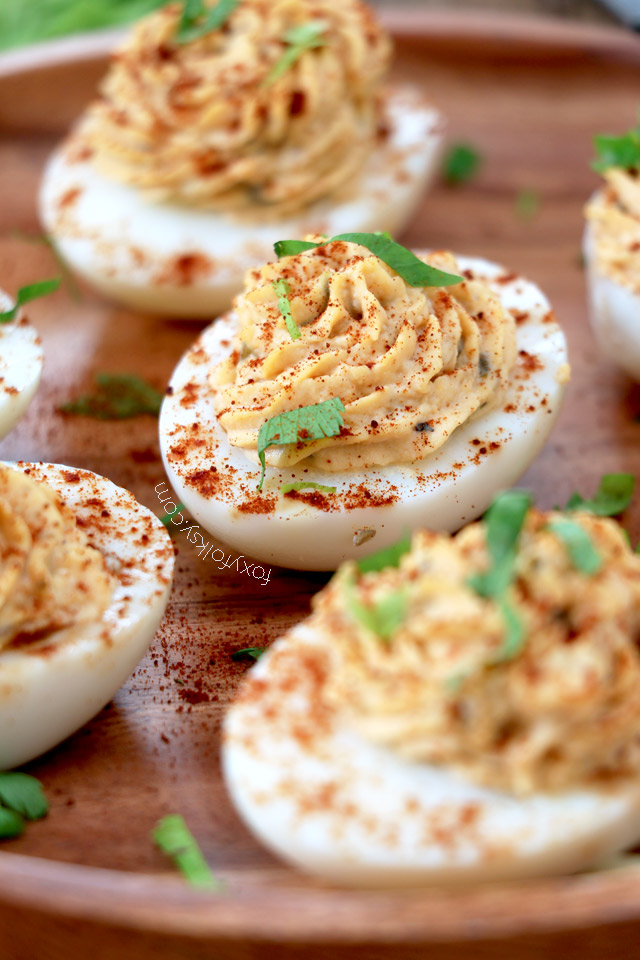
Try this recipe for Deviled Egg with Relish or you might want to learn How to make Salted Eggs
 |
 |
How to have hard-boiled eggs that are easy to peel?
There are lots of tips online about boiling eggs that would be easier to peel. But it could be true or not depending also on the technique used in boiling them. Here are additional tips for easy-to-peel hard-boiled eggs that work for me using the technique above.
-
-
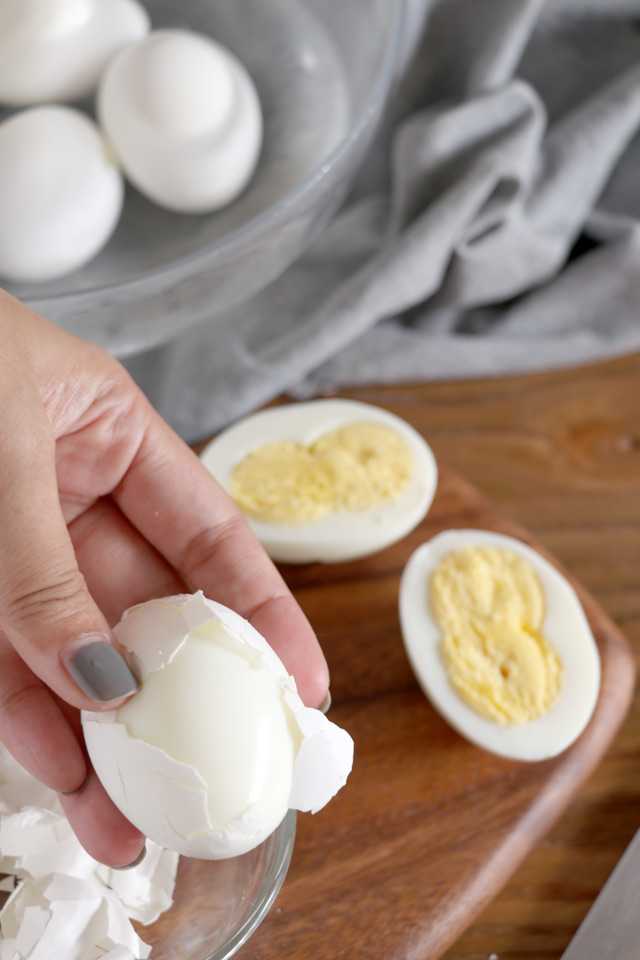
- Use eggs that are older, like 7-10 days old. I've boiled a fresher egg with the not so fresh eggs and the fresh one was a little harder to peel. This is because as the eggs age, some of the acid present in the whites are released. This acid is what makes the white stick to the shell.
- Add a tablespoon of vinegar to the boiling water. I learned this one from my mother-in-law although for a different reason. This, she said, prevents the egg from spilling out of the shell while boiling if there are unseen cracks. But this actually also helps in making the peeling of the shell easier because, apparently, the acid in the vinegar dissolves calcium carbonate and that is what eggshells are made of.
- Slightly tap the eggs, one by one, with a spoon or on your kitchen surface after boiling to create a small crack. This is to let the water in while sitting in the ice bath so it separates the egg from the shell. (Skip this if you are going to dye your eggs.)
-
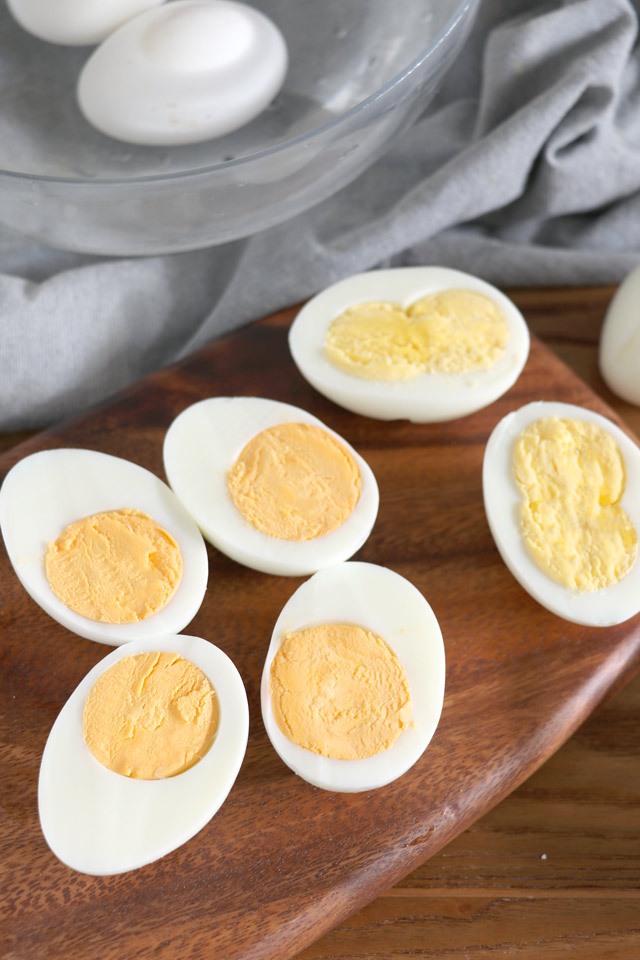
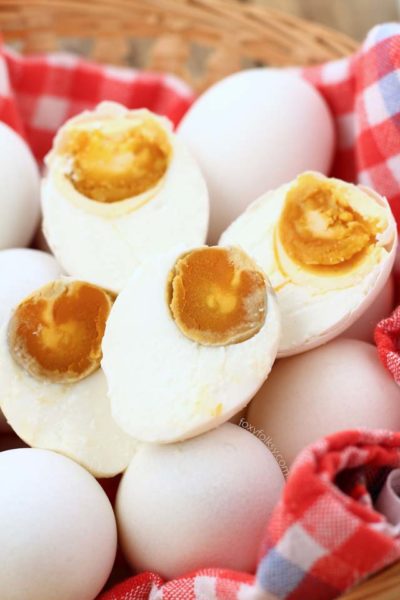
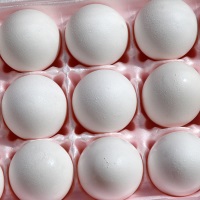
In case you are wondering what are those weird looking eggs in the photos, that is an egg with double egg yolk. My parents brought us some of them the other day and they got it from a friend.
We had a poultry farm when we were growing up and this is actually a common thing to see for us but it still amazes the heck out of me. Armin saw it for the first time and he is astounded by it!
These are usually bigger in size and are produced by young chickens but can also come from old ones nearing the end of their productiveness. A result of immature reproductive systems and hormonal imbalance.
Printable Recipe
How to make perfect Hard-Boiled Eggs all the time.
Ingredients
- 6 pieces eggs
- water
- 1 tablespoon vinegar
Instructions
- Place eggs in a pot and fill the pot with tap water covering the eggs by an inch or two.
- Bring the water into a rolling boil, uncovered.
- Turn off the heat and cover pan. Set timer to 15 minutes.
- A few minutes before the timer goes off, prepare the ice bath. Simply add ice into a bowl of water. Once the 15 minutes is over, transfer the eggs to the ice bath and let them sit for at least 2 minutes.
- Tap all sides of the eggs on the counter and peel off the shells and enjoy your perfect hard-boiled eggs.







Anthony says
I love your recipes. I am new to baking/cooking and I have tried your pandesal recipe, and even though I had a lot of kitchen blunders, it still came out AMAZING !!! Thank you for sharing. Your website will definitely be my go-to when it comes to learning. I highly appreciate you explaining things, like, how it interacts with vinegar, etc. etc. Once again, thank you, and I look forward to trying out your other recipes very soon 🙂