Spring is back and that means it is time to start planting again. I think I have mentioned before that we moved (again) to another apartment, one that is closer to where Armin and I work. This time we found a place that has a small garden...hurray!!! But the thing is the whole lot is covered in grass! Although there is a patch without grass on it, the previous renter, however, covered the ground with garden foil then topped it with really thick mulch to stop the weeds from growing and and the thing is, it is also in a slope. Too much work to use it for my edible garden but could be perfect for some landscape gardening so I planted some flowers and summer bulbs, just have to wait and see how that will turn out.
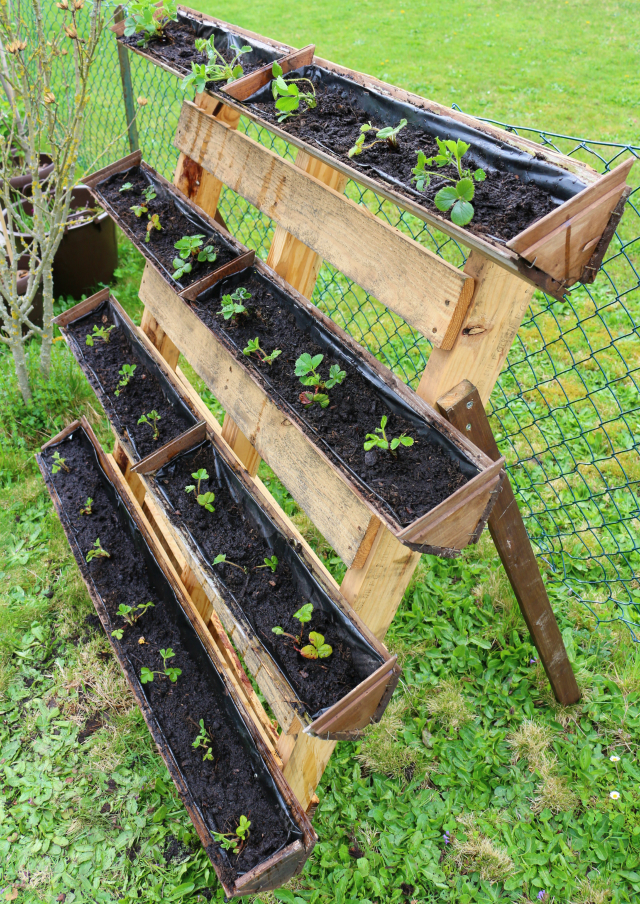
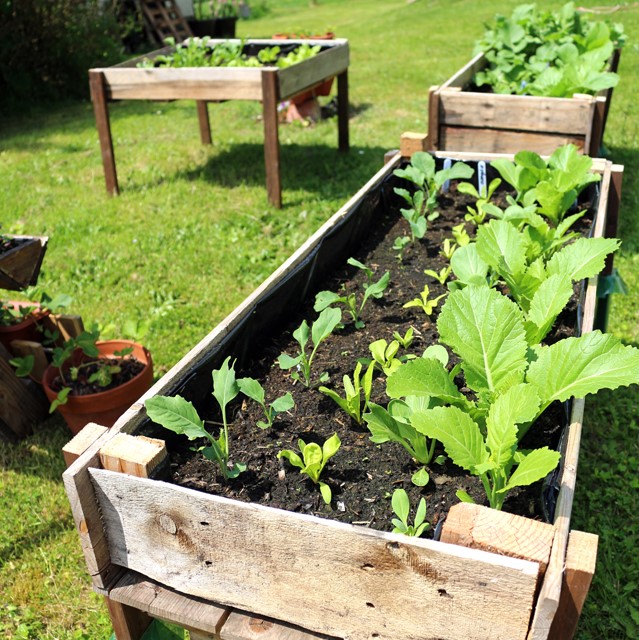
Now, good thing we kept our pallet planter box that we made 2 years so I used that to plant our greens. I also (or rather Armin) got more pallets and I turned them to planting beds but that is for another post. In this article, I would like to share my modified strawberry planter using pallets. Why modified? Because they are the same ones that I used on my hanging Strawberry planters but this time we do not have the railings from the balcony where we hanged them before. What I did was, I attached them to a pallet and gave the pallet legs as support so it can stand vertically. So easy!
Here are the materials I used:
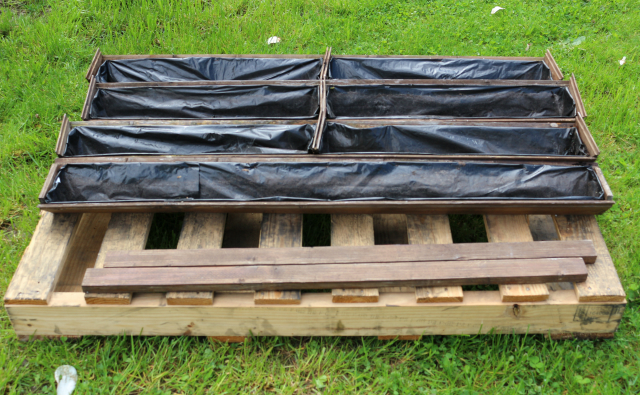
4 wooden boxes, refer to hanging Strawberry planters less the rope and thin wire
1 pallet
2 Pcs. of square timber posts size: 1oox5x2 cm (or 100x5x5) /or 2 planks of wood from a pallet
2 pcs. 2.5" screws
2 pcs. 2" screws
8 -10 pcs. 1.5" screws
Tools:
Jig Saw, Hammer, Staple/Brad Nail Gun
, Meter Tape and a Pencil. (- for the boxes)
I only needed an electric screw driver to finish this project.
Instructions:
I did this planter on my own but it would be a lot easier and faster if two people would do it.
- Make the wooden boxes (4-5 pcs) by referring to hanging Strawberry planters for instructions.
- Now that you have your (triangle) boxes, the next step is to add the legs to the pallet. First you have to check where you would like to attach the legs to the pallet. Try standing the pallet up and lean it back slightly to your desired angle. Place one of the timbers on the ground and lean it towards the pallet, mark the position of timber against the pallet with a pencil so that you know where to screw. Lay the pallet on the side and drill a long screw to attach the timber to the pallet on its right position
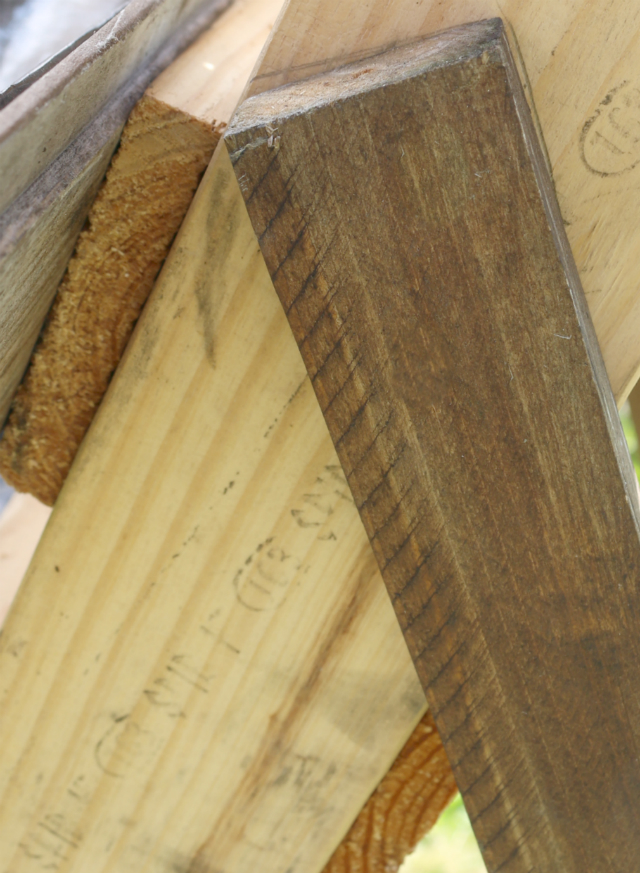
- Put the pallet up again and let it stand on its (one) leg. Now you can easily mark the other side with the other leg and screw them together using the long screw left. Once both of the legs are in place and the pallet is stable, add another screw on each leg connection to make it more secure.
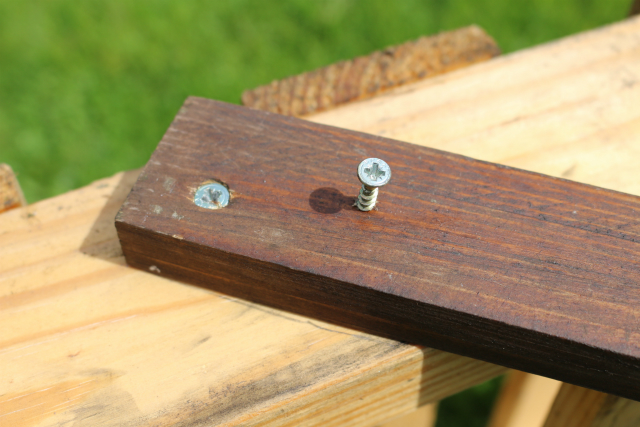
- Now attach the boxes to the pallet stand by screwing them to the planks of the pallets. I used 2 screw for each box.
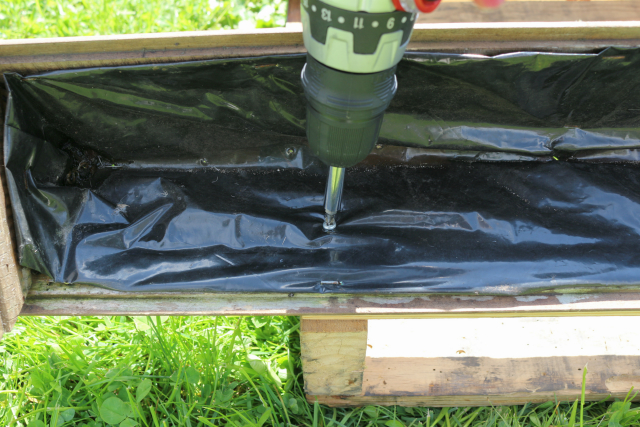
- Fill the boxes with soil and plant your strawberries. Refer to my old post on how to grow strawberries in container for additional tips.
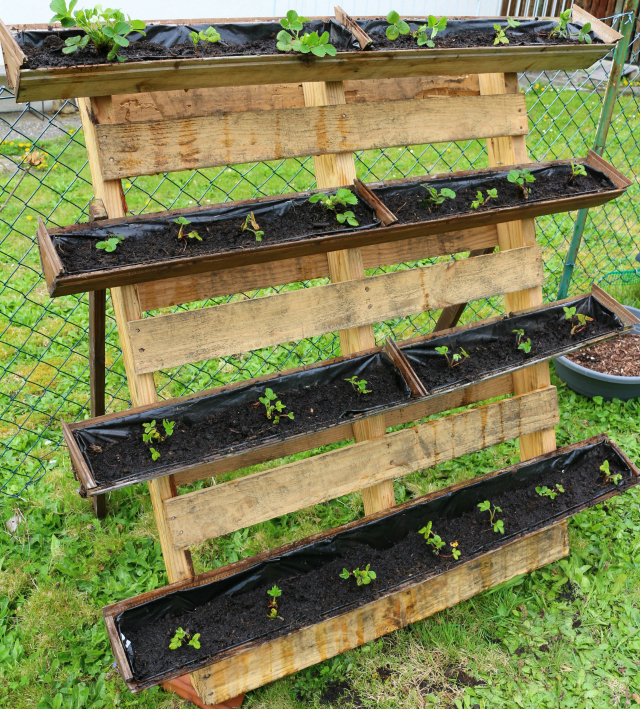
I will keep you posted for new developments on my new strawberry planter using pallets.


What do you think?